DTF Printing
DTF printing combines the characteristics of traditional transfer film printing (used for making transfers) with the advantages of digital technology.
The advantages of this technology are:
faster production, high-resolution printing, a wide range of colors, variability, and durability.
DTF transfer production takes place in three phases:
-
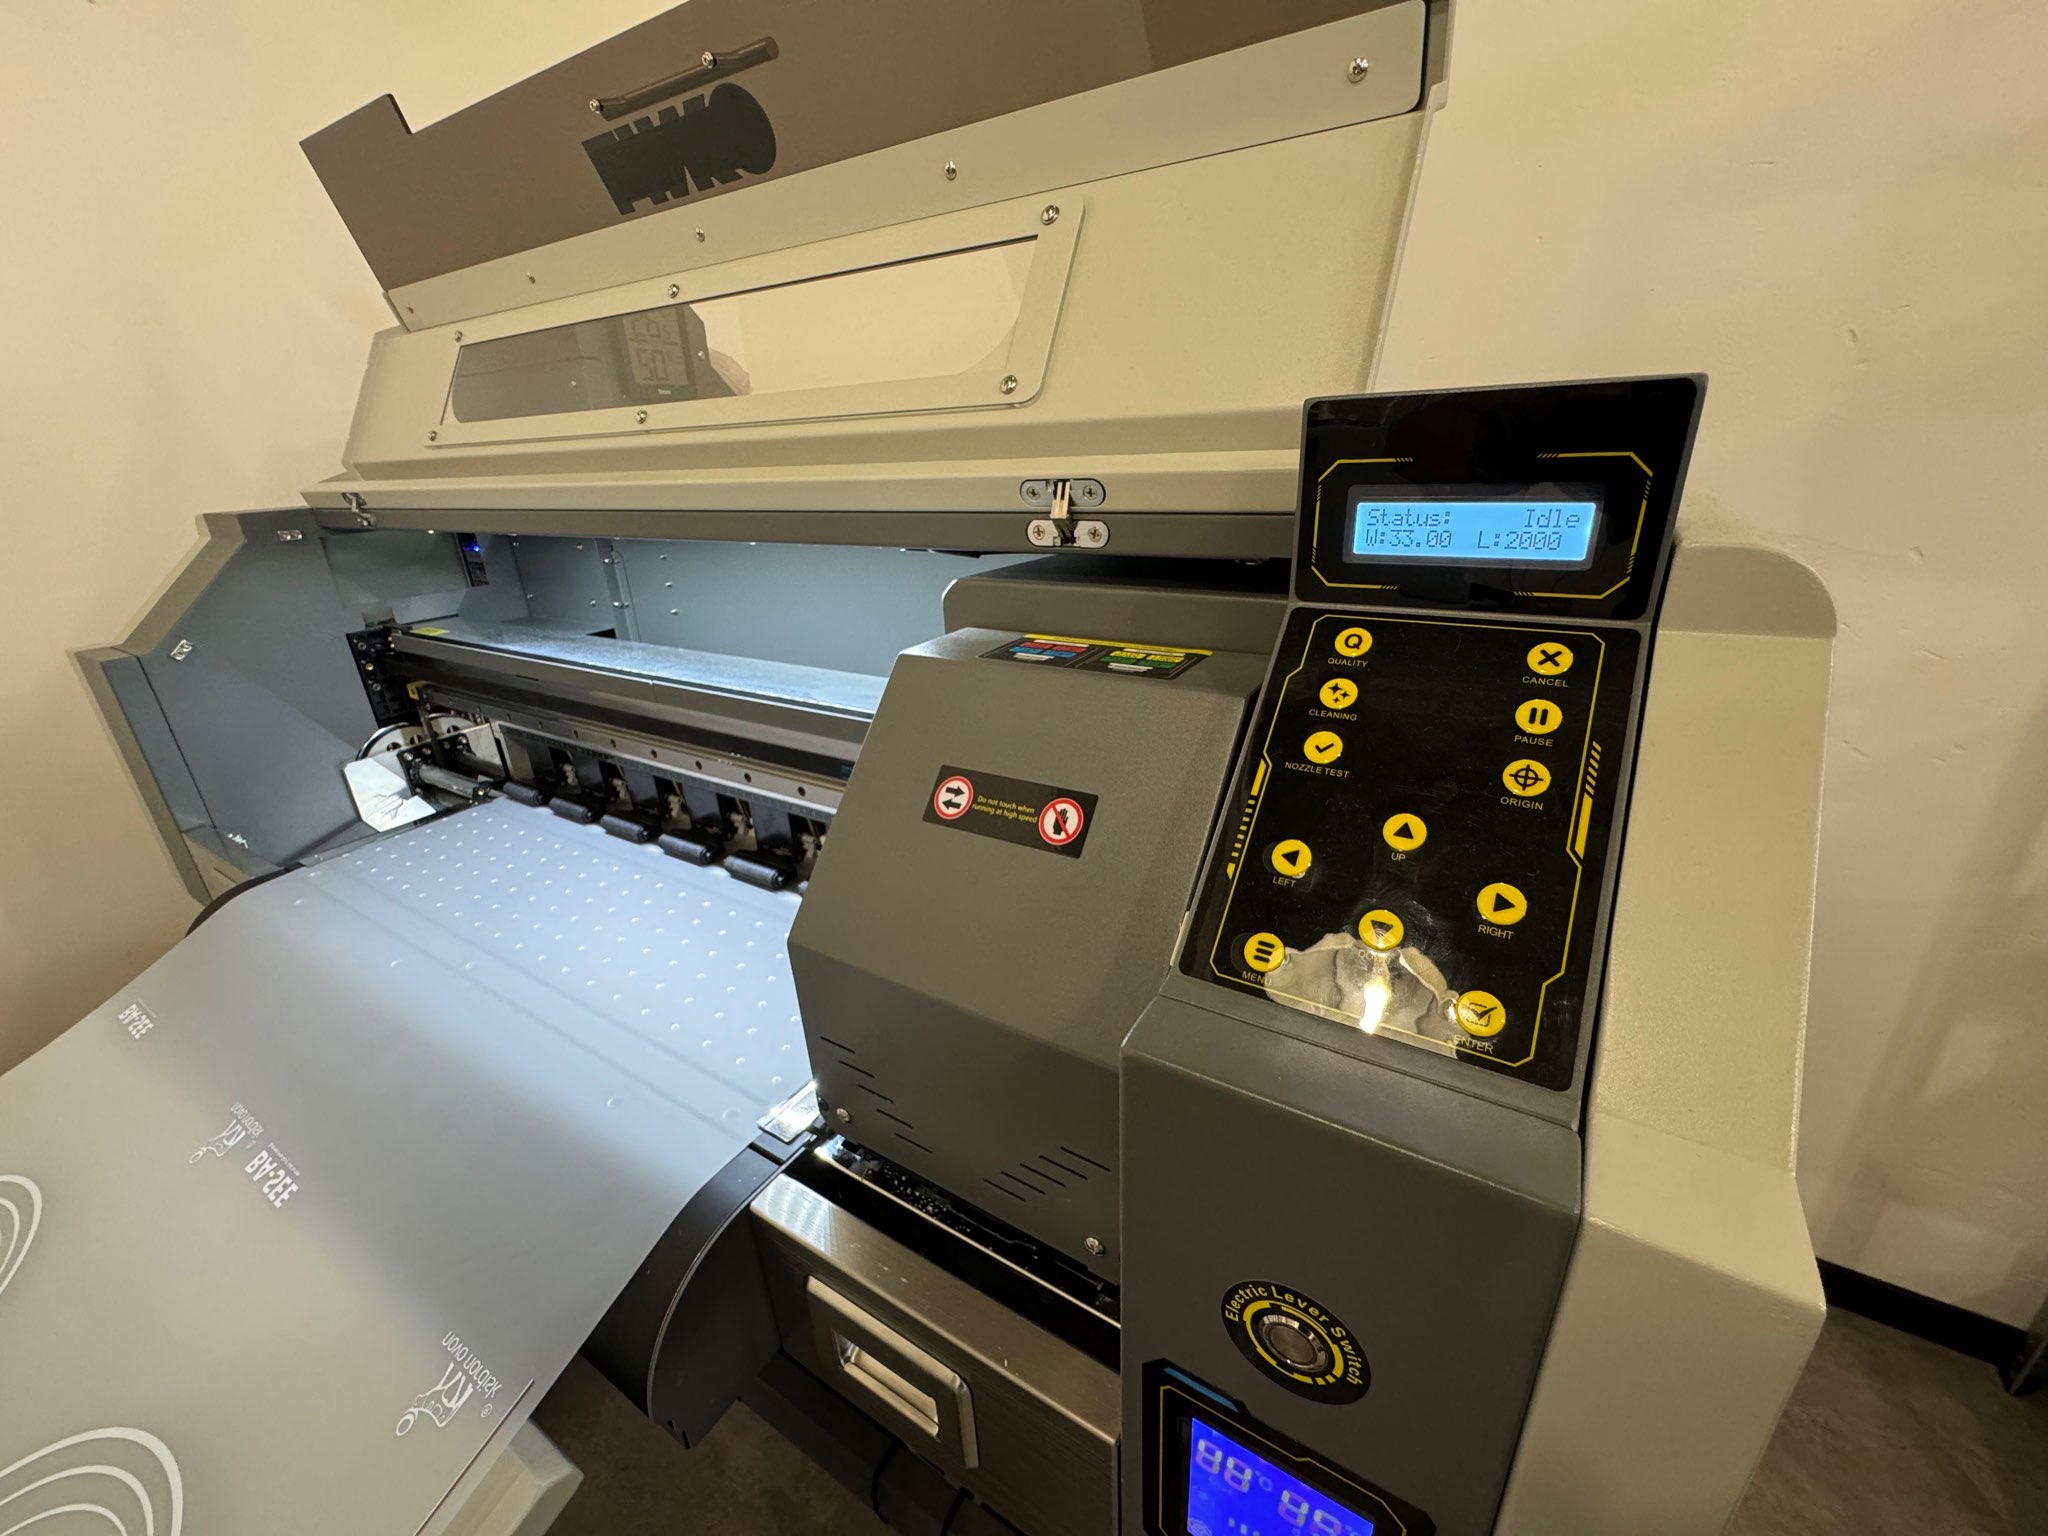
Phase 1: Print graphics on film
The DTF printer prints the graphics in color inversely on the DTF film, so we have a layer of color + covering white that goes over the entire graphic. -
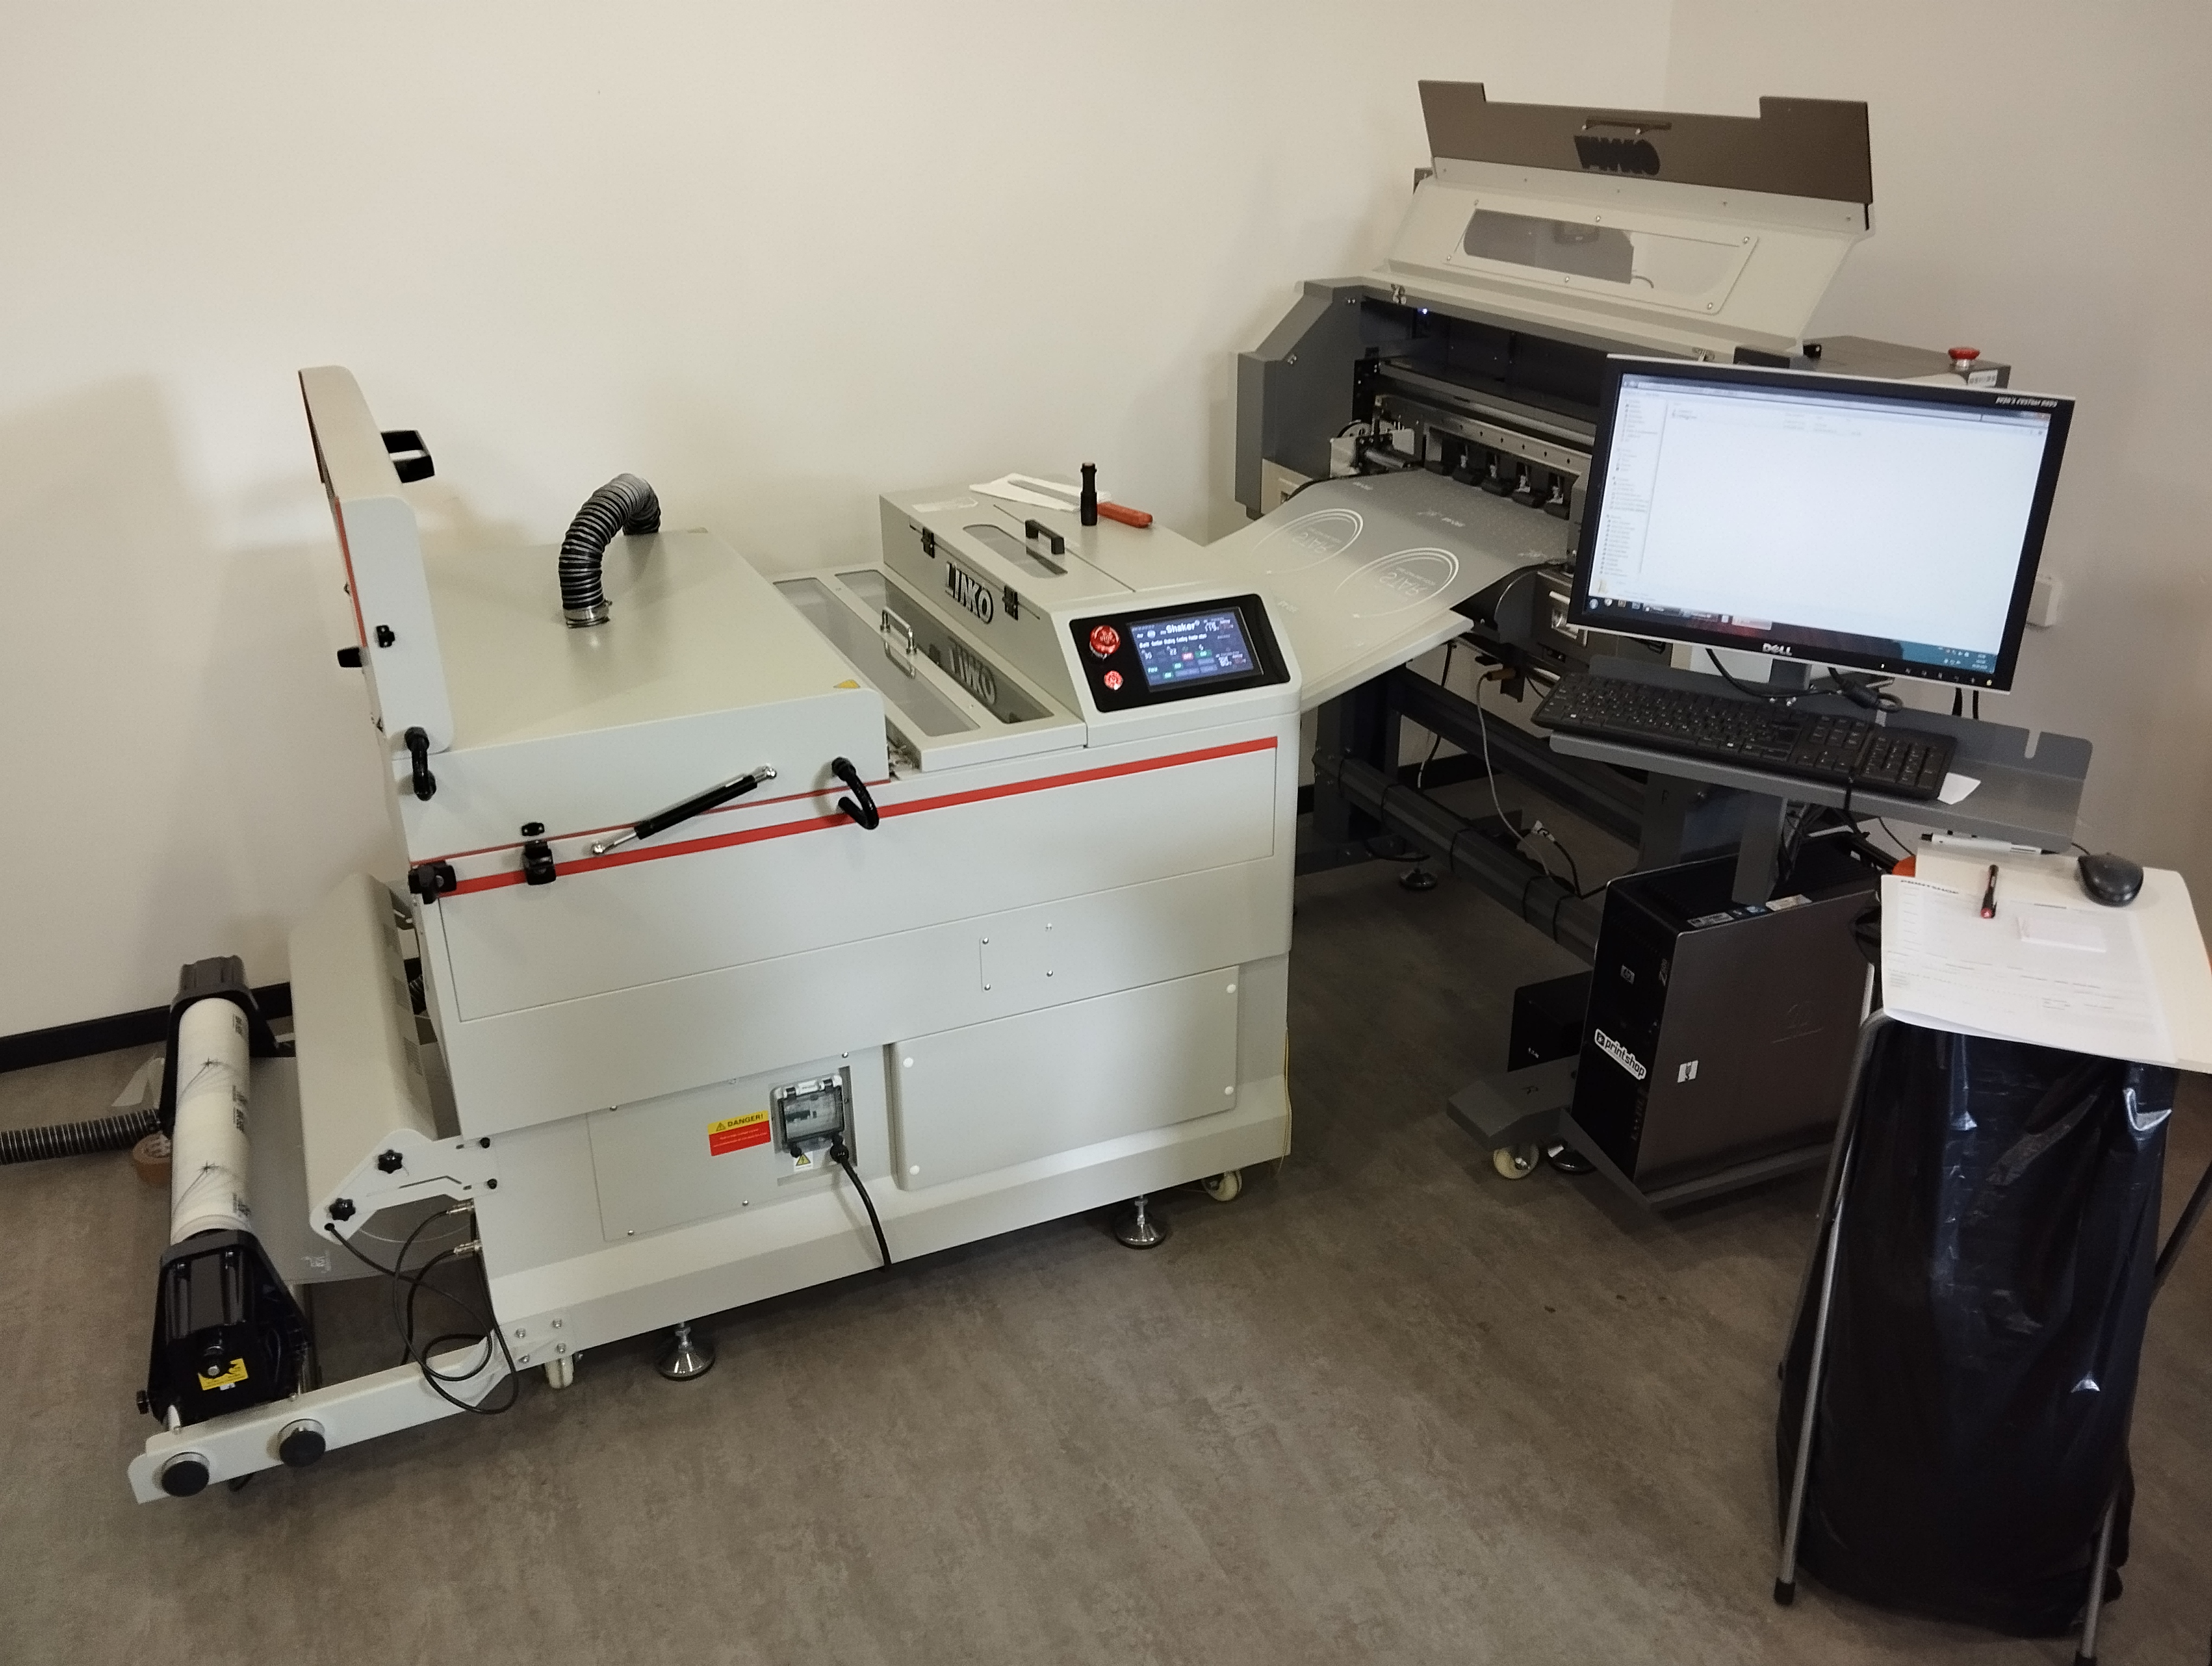
Phase 2: Application of adhesive
The printed film directly from the printer enters the machine (shaker) for applying and fixing the adhesive. The powder adhesive falls gravitationally onto the film, adheres to the white color covering the visual, and the excess adhesive is shaken off by rotating blades, returning the excess adhesive to the system. -
Phase 3: Fixing the adhesive
After applying the adhesive, the film passes through a tunnel with heaters that fix the adhesive at high temperature. Upon exiting, the film cools and rolls up.
Hot Peel DTF Film
This type of film is removed immediately after ironing, saving you time in material production. You only need to wait a few seconds (5-7) after ironing and then gently lift one end of the film from the material to quickly remove it. Optionally, the film can also be removed after cooling, but with poorer results.
Application Recommendations
There are three important factors for quality application of DTF graphics to the surface:
- Temperature
- Pressure
- Application time
We adjust these three factors to the type and thickness of the material
- umbrella 3-5 seconds at a temperature of 150-170 °C
- cotton t-shirts 5-7 seconds at a temperature of 150-170 °C
- jute bags with rough texture 20-25 seconds at a temperature of 170 °C to properly melt and adhere the adhesive to the surface, but these are extremes.
!! Some materials do not tolerate high temperatures (such as neoprene mouse pads), and require lower temperatures, so in that case, we set the temperature to 120 °C for 10 – 15 seconds. The removal of the film from our offer is HOT PEEL, which means that the film should be removed immediately after ironing. In practice, for some materials, we have found that you should wait a few seconds before removing the film. Completely cooling the film is not recommended as the results can be poor !!
Settings for some materials:
-
Type of clothingTimeTemperature
-
Cotton t-shirts 150g:5-7 seconds150-170 °C
-
Cotton t-shirts 180g:7-10 seconds150-170 °C
-
Hoodies:10-15 seconds150 - 160 °C
-
Workwear:10-12 seconds150 - 160 °C
-
Cotton shopping bags:10-12 seconds160 – 170 °C
-
Polyester (umbrellas):3-5 seconds150 - 160 °C
-
Neoprene pads:10-15 seconds120 °C
Depending on the material and the application result, it is necessary to either increase/decrease the temperature or shorten/extend the application time. Experience is gained during work and it is difficult to give an exact instruction for each specific material. For the longevity of the graphics on textiles, we recommend additionally ironing the graphics after removing the film. Very often, 2-3 seconds is enough, while for larger transfer areas, we recommend about 5-6 seconds.